Building a Beautiful 3D Globe With Pins in SvelteKit and Three.js — Behind Globe Diary
Published at Oct 7, 2025
Introduction
Hey! 👋
In this guide we’ll create an interactive 3D globe using Three.js and SvelteKit. We’ll start simple and gradually add features like a space backdrop, clouds, mountains, camera controls, and intercative pins - explaining each step along the way. Please refer to the code for the full source code.
Three.js (https://threejs.org/) is a powerful JS library for creating 3D graphics in the browser. We’ll be using it to render a 3D model of the Earth. I created this as part of a travel logging-app I made, and you can check out a demo here.
Project Setup
Get started by creating a new SvelteKit project:
npx sv create earth
cd earth
Select the SvelteKit minimal template and TypeScript. Next, install TailwindCSS (check out this guide). Finially, install the necessary dependencies:
npm install three @types/threeOur app will be structured as follows:
src/lib/globe.svelte.ts. This Svelte store will be responsible for all the Three.js logic (rendering out globe, textures, clouds etc.).src/routes/+page.svelte. This is the root page and will be the entry point for our app. It will import theglobe.sveltecomponent and render it, as well as manage our pins.src/lib/utils.ts. This file contains some utility functions that we’ll use throughout the app.
The purpose of having multiple files is to organize our code and make it easier to maintain.
Rendering our first 3D object
The goal of this section is to render a simplified model of the Earth. In later secions we’ll add more features to it. Let’s create a class that will hold all the logic for our globe:
import {
  PerspectiveCamera,
  Scene,
  WebGLRenderer,
  Group,
  Mesh,
  SphereGeometry,
  DirectionalLight,
} from "three";
export default class Globe {
  [...]
  init = () => {};
  dispose = () => {};
  private onResize = () => {};
  private animate = () => {};
}
As of now, it will contain the following things:
- Some properties to hold things like the loading state, the scene and the camera object.
init(): A method to initialize the scene.disponse(): A method to dispose of the scene.onResize(): A method to handle window resize.animate(): A method to handle the rendering loop.
Add some properties to our class. The purpose of these will become clear as we go along.
export default class Globe {
  canvas: HTMLCanvasElement | undefined = $state();
  isLoading: boolean = $state(true);
  private scene: Scene | undefined;
  private camera: PerspectiveCamera | undefined;
  private renderer: WebGLRenderer | undefined;
  private dirLight: DirectionalLight | undefined;
  private earth: Mesh | undefined;
  private params = {
    earthRadius: 1,
    sunIntensity: 3.5,
  };
  ...
}
Next, add logic to initialize the scene.
export default class Globe {
  ...
init = () => {
    // Set loading to true
    this.isLoading = true;
    // Create a new scene
    this.scene = new Scene();
    // Create a new group for the globe
    this.globeGroup = new Group();
    // Create a new renderer
    this.renderer = new WebGLRenderer({
      canvas: this.canvas,
      antialias: true,
    });
    this.renderer.setPixelRatio(window.devicePixelRatio);
    this.renderer.setSize(window.innerWidth, window.innerHeight);
    // Configure the camera
    this.camera = new PerspectiveCamera(
      45,
      window.innerWidth / window.innerHeight,
      0.1,
      100
    );
    this.camera.position.set(0, 0, 3);
    this.camera.lookAt(0, 0, 0);
    this.scene.add(this.camera);
    // Add some lighting
    this.dirLight = new DirectionalLight(0xffffff, this.params.sunIntensity);
    this.camera.add(this.dirLight);
    this.dirLight.position.set(-3, 3, 3);
    // Create a simple earth mesh
    let earthGeometry = new SphereGeometry(
      this.params.earthSphereRadius,
      32,
      32
    );
    this.earth = new Mesh(earthGeometry, earthMaterial);
    this.globeGroup.add(this.earth);
    // Add groups to the scene
    this.scene.add(this.globeGroup);
    // Handle window resize
    window.addEventListener("resize", this.onResize);
    // Set loading to false
    this.isLoading = false;
  };
}
Next, add some logic to dispose of the scene. Three.js uses WebGL, which runs on the GPU. When you create various objects, they are allocated memory in the GPU and WebGL contexts. If you don’t dispose of them, the memory will be kept in memory and the app will use more and more memory over time. This can lead to performance issues and eventually crashes.
export default class Globe {
  ...
  dispose = () => {
    window.removeEventListener("resize", this.onResize);
    if (this.renderer) {
      this.renderer.dispose();
    }
  };
}
Add logic to handle window resize.
export default class Globe {
  ...
  onResize = () => {
    this.camera.aspect = window.innerWidth / window.innerHeight;
    this.camera.updateProjectionMatrix();
    this.renderer.setSize(window.innerWidth, window.innerHeight);
  };
}
Three.js doesn’t automatically render the scene. We need to call the render() method on the renderer to render the scene. Let’s add a method to handle the rendering loop.
export default class Globe {
  ...
  private animate = () => {
    if (this.renderer && this.scene && this.camera) {
      this.renderer.render(this.scene, this.camera);
      requestAnimationFrame(this.animate);
    }
  };
}
Great! Almost there… We have the logic in place to create a simple globe. Now the missing pieve of the puzzle is to import the store into our root page and use it.
<script lang="ts">
import Globe from "$lib/globe.svelte";
  const globe = new Globe();
  onMount(() => {
    globe.init();
  });
  onDestroy(() => {
    globe.dispose();
  });
</script>

<canvas bind:this={globe.canvas} class="size-full"></canvas>
Above, we import the Globe class into the root page. A new instance of the class is created and the scene is initialized once the component is mounted to the DOM. Finally, we’ve added a onDestroy hook to dispose of the scene when the component is destroyed. This is what we want, right?
Well, not quite. If you try to run the app now, you’ll notice the following error:
ReferenceError: window is not definedThis error occur beccause SvelteKit does Server-Side Rendering (SSR) by default. When the code runs on the server, there is no browser environment, so global objects like window and document are not available. To fix this, can ensure that the code only runs on the client by using the browser variable, which returns true when the code is running on the client.
<script lang="ts">
import { browser } from "$app/environment";
[...]
  onMount(() => {
    if (browser) {
      globe.init();
    }
  });
  onDestroy(() => {
    if (browser) {
      globe.dispose();
    }
  });
</script>

<canvas bind:this={globe.canvas} class="size-full"></canvas>
Now, when you run the app, you’ll see that the scene is rendered on the client and not on the server.
Brilliant! 🎉
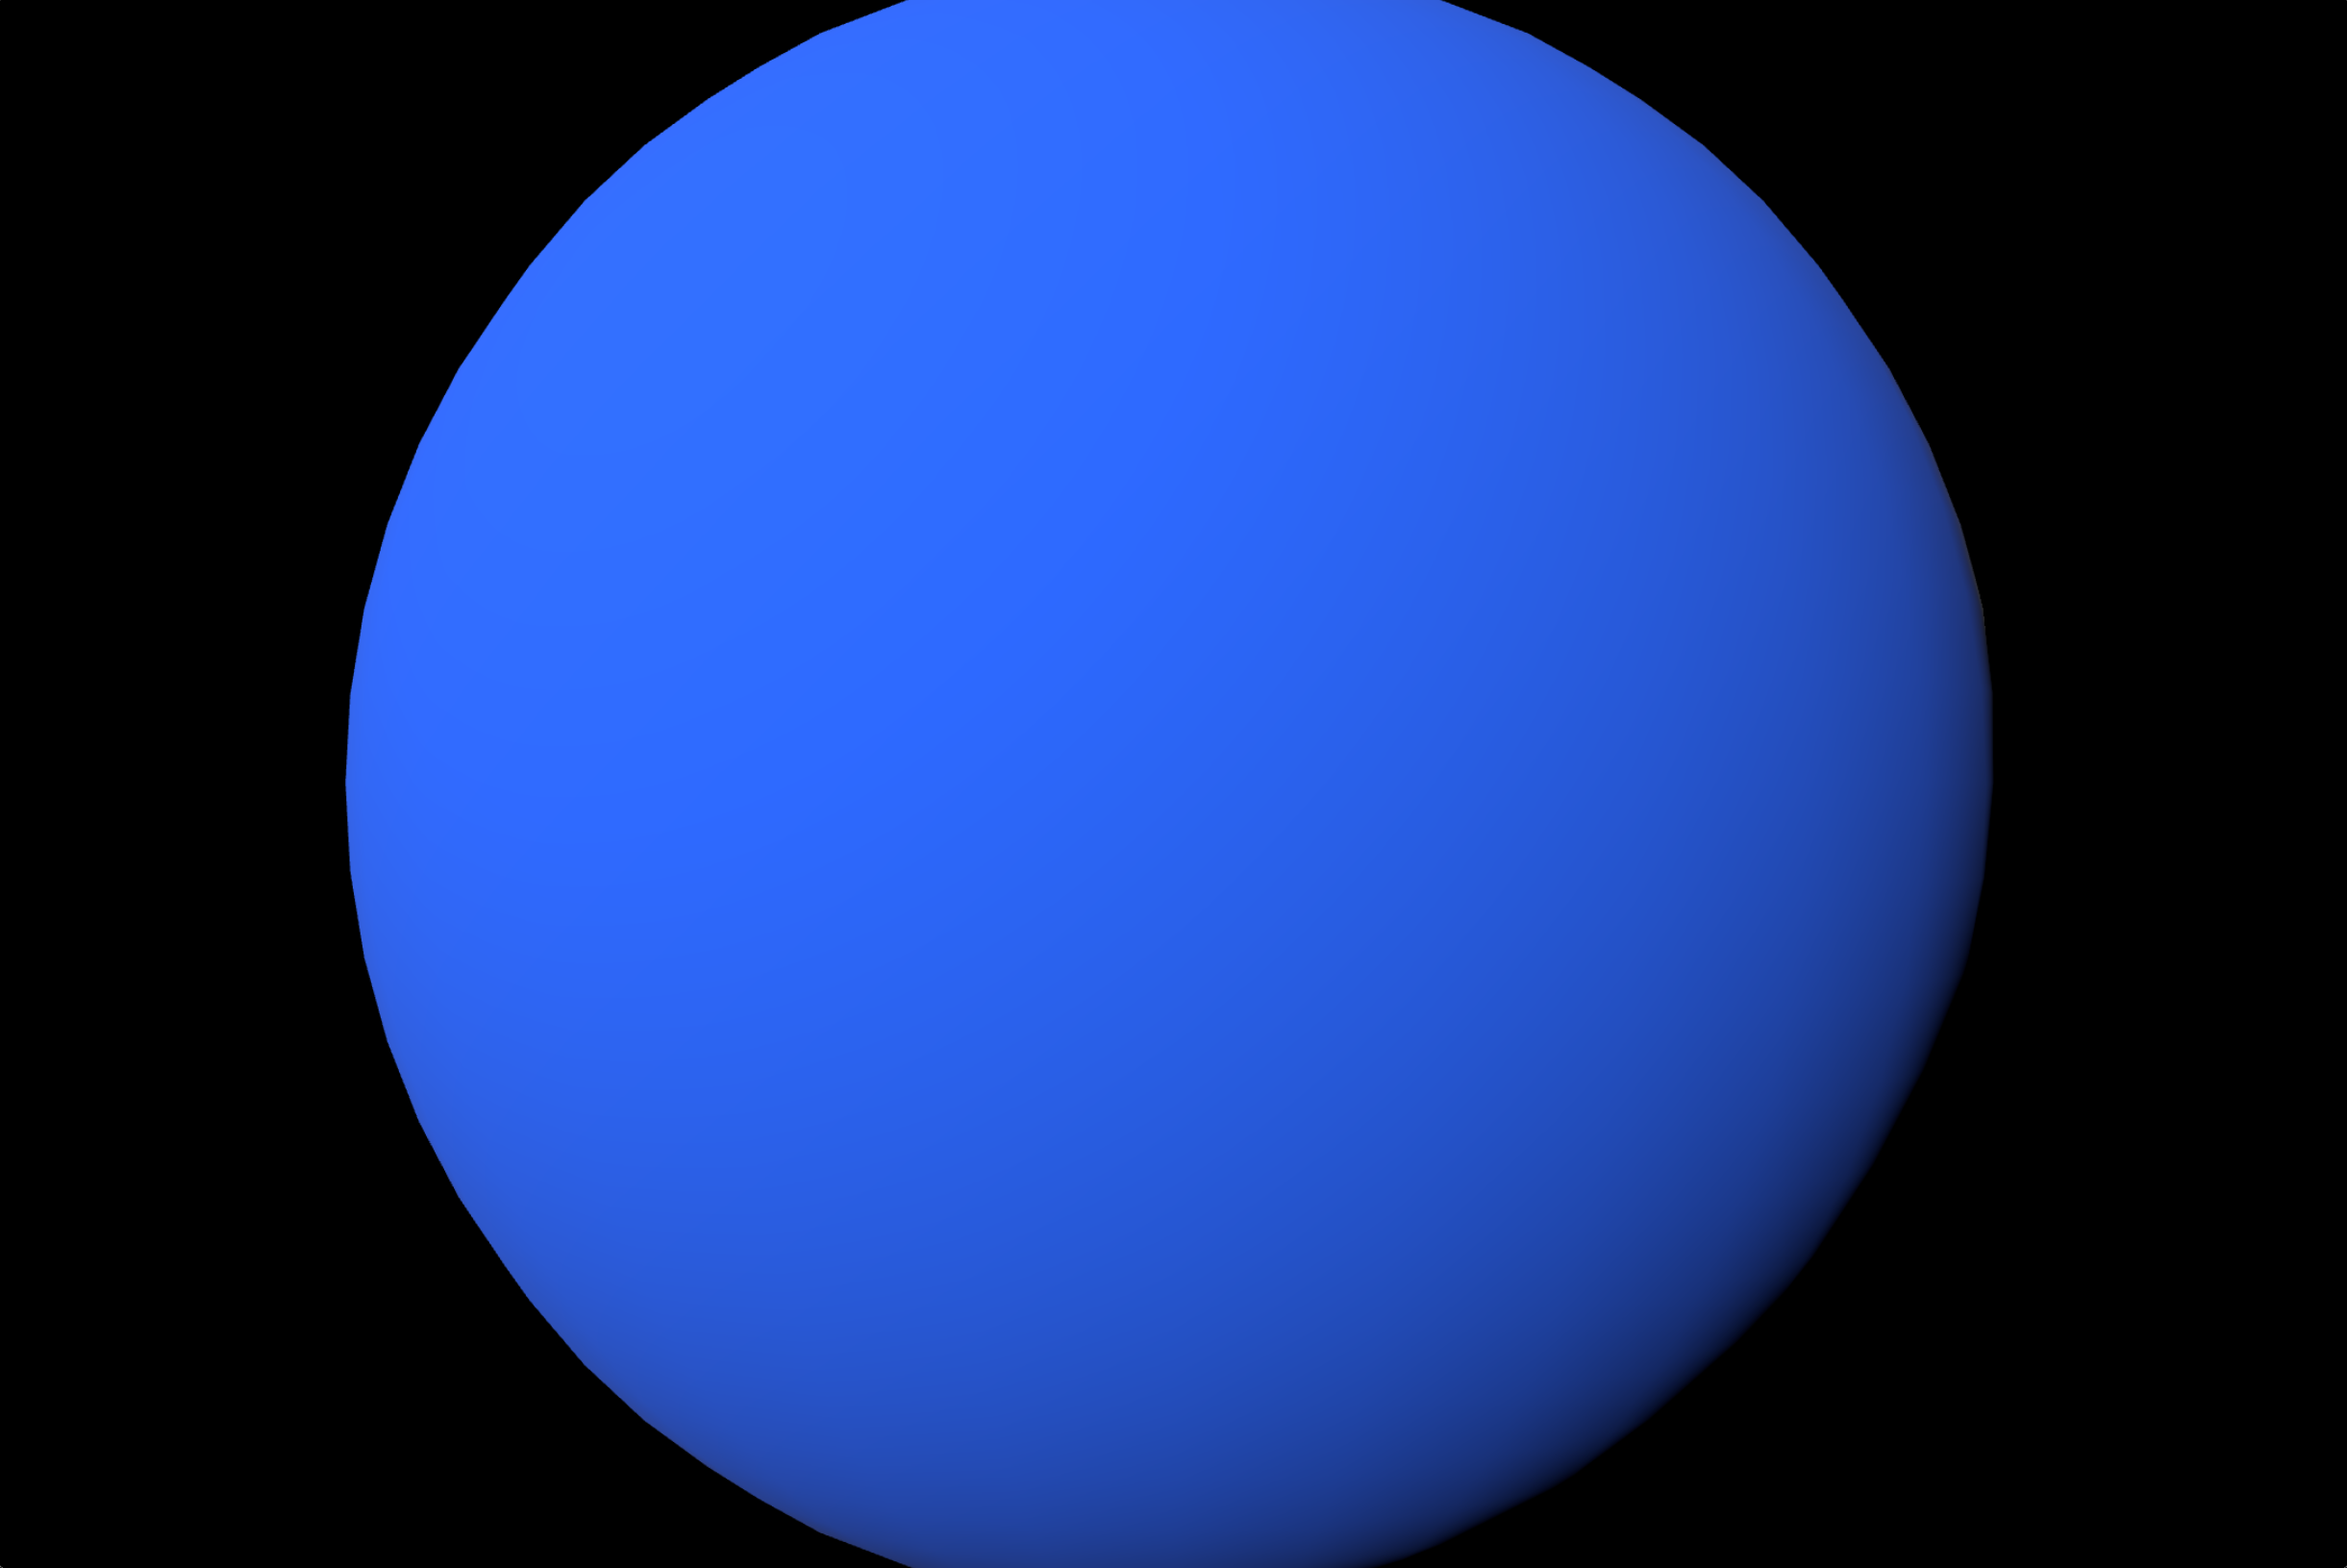
Adding a texture and a bump map
At the moment the sphere resembles a blueberry more than our planet. The goal of this section is to improve the realism of our model by applying a texture to it. Start by downloading a high-resulution texture of the Earth and save it to src/lib/assets/geo/.
Websites like SolarSystemScope and PlanetPixelEmporium offer high-resolution textures of the Earth. These sites will also be useful for future sections of this tutorial, where we’ll need to download other textures and resources.
Next, add the following code to the src/lib/globe.svelte.ts file:
import earth from "$lib/assets/geo/earth.jpg";  // Import the texture
export default class Globe {
  ...
  private init = () => {
    ...
    const earthMap = await loadTextureAsync(earth);     // Load the earth texture
    earthMap.colorSpace = SRGBColorSpace;
    let earthMaterial = new MeshStandardMaterial({
      map: earthMap,
    });   // Create a material for the earth
    ...
  }
};
…and the following code to the src/lib/utils.ts file:
import { SRGBColorSpace, TextureLoader, type Texture } from "three";
export const loadTextureAsync = (url: string): Promise<Texture> => {
  return new Promise((resolve, reject) => {
    const loader = new TextureLoader();
    loader.load(
      url,
      (texture) => {
        texture.colorSpace = SRGBColorSpace;
        resolve(texture);
      },
      undefined, // onProgress callback (optional)
      (error) => {
        console.error("An error occurred during texture loading:", error);
        reject(error);
      }
    );
  });
};
In short, we’re loading the texture asynchronously, setting the color space to SRGBColorSpace to ensure that the texture is displayed correctly, creating a material for the earth and setting the texture as the map. The loadTextureAsync() function is a custom function that I wrote to load textures asynchronously.
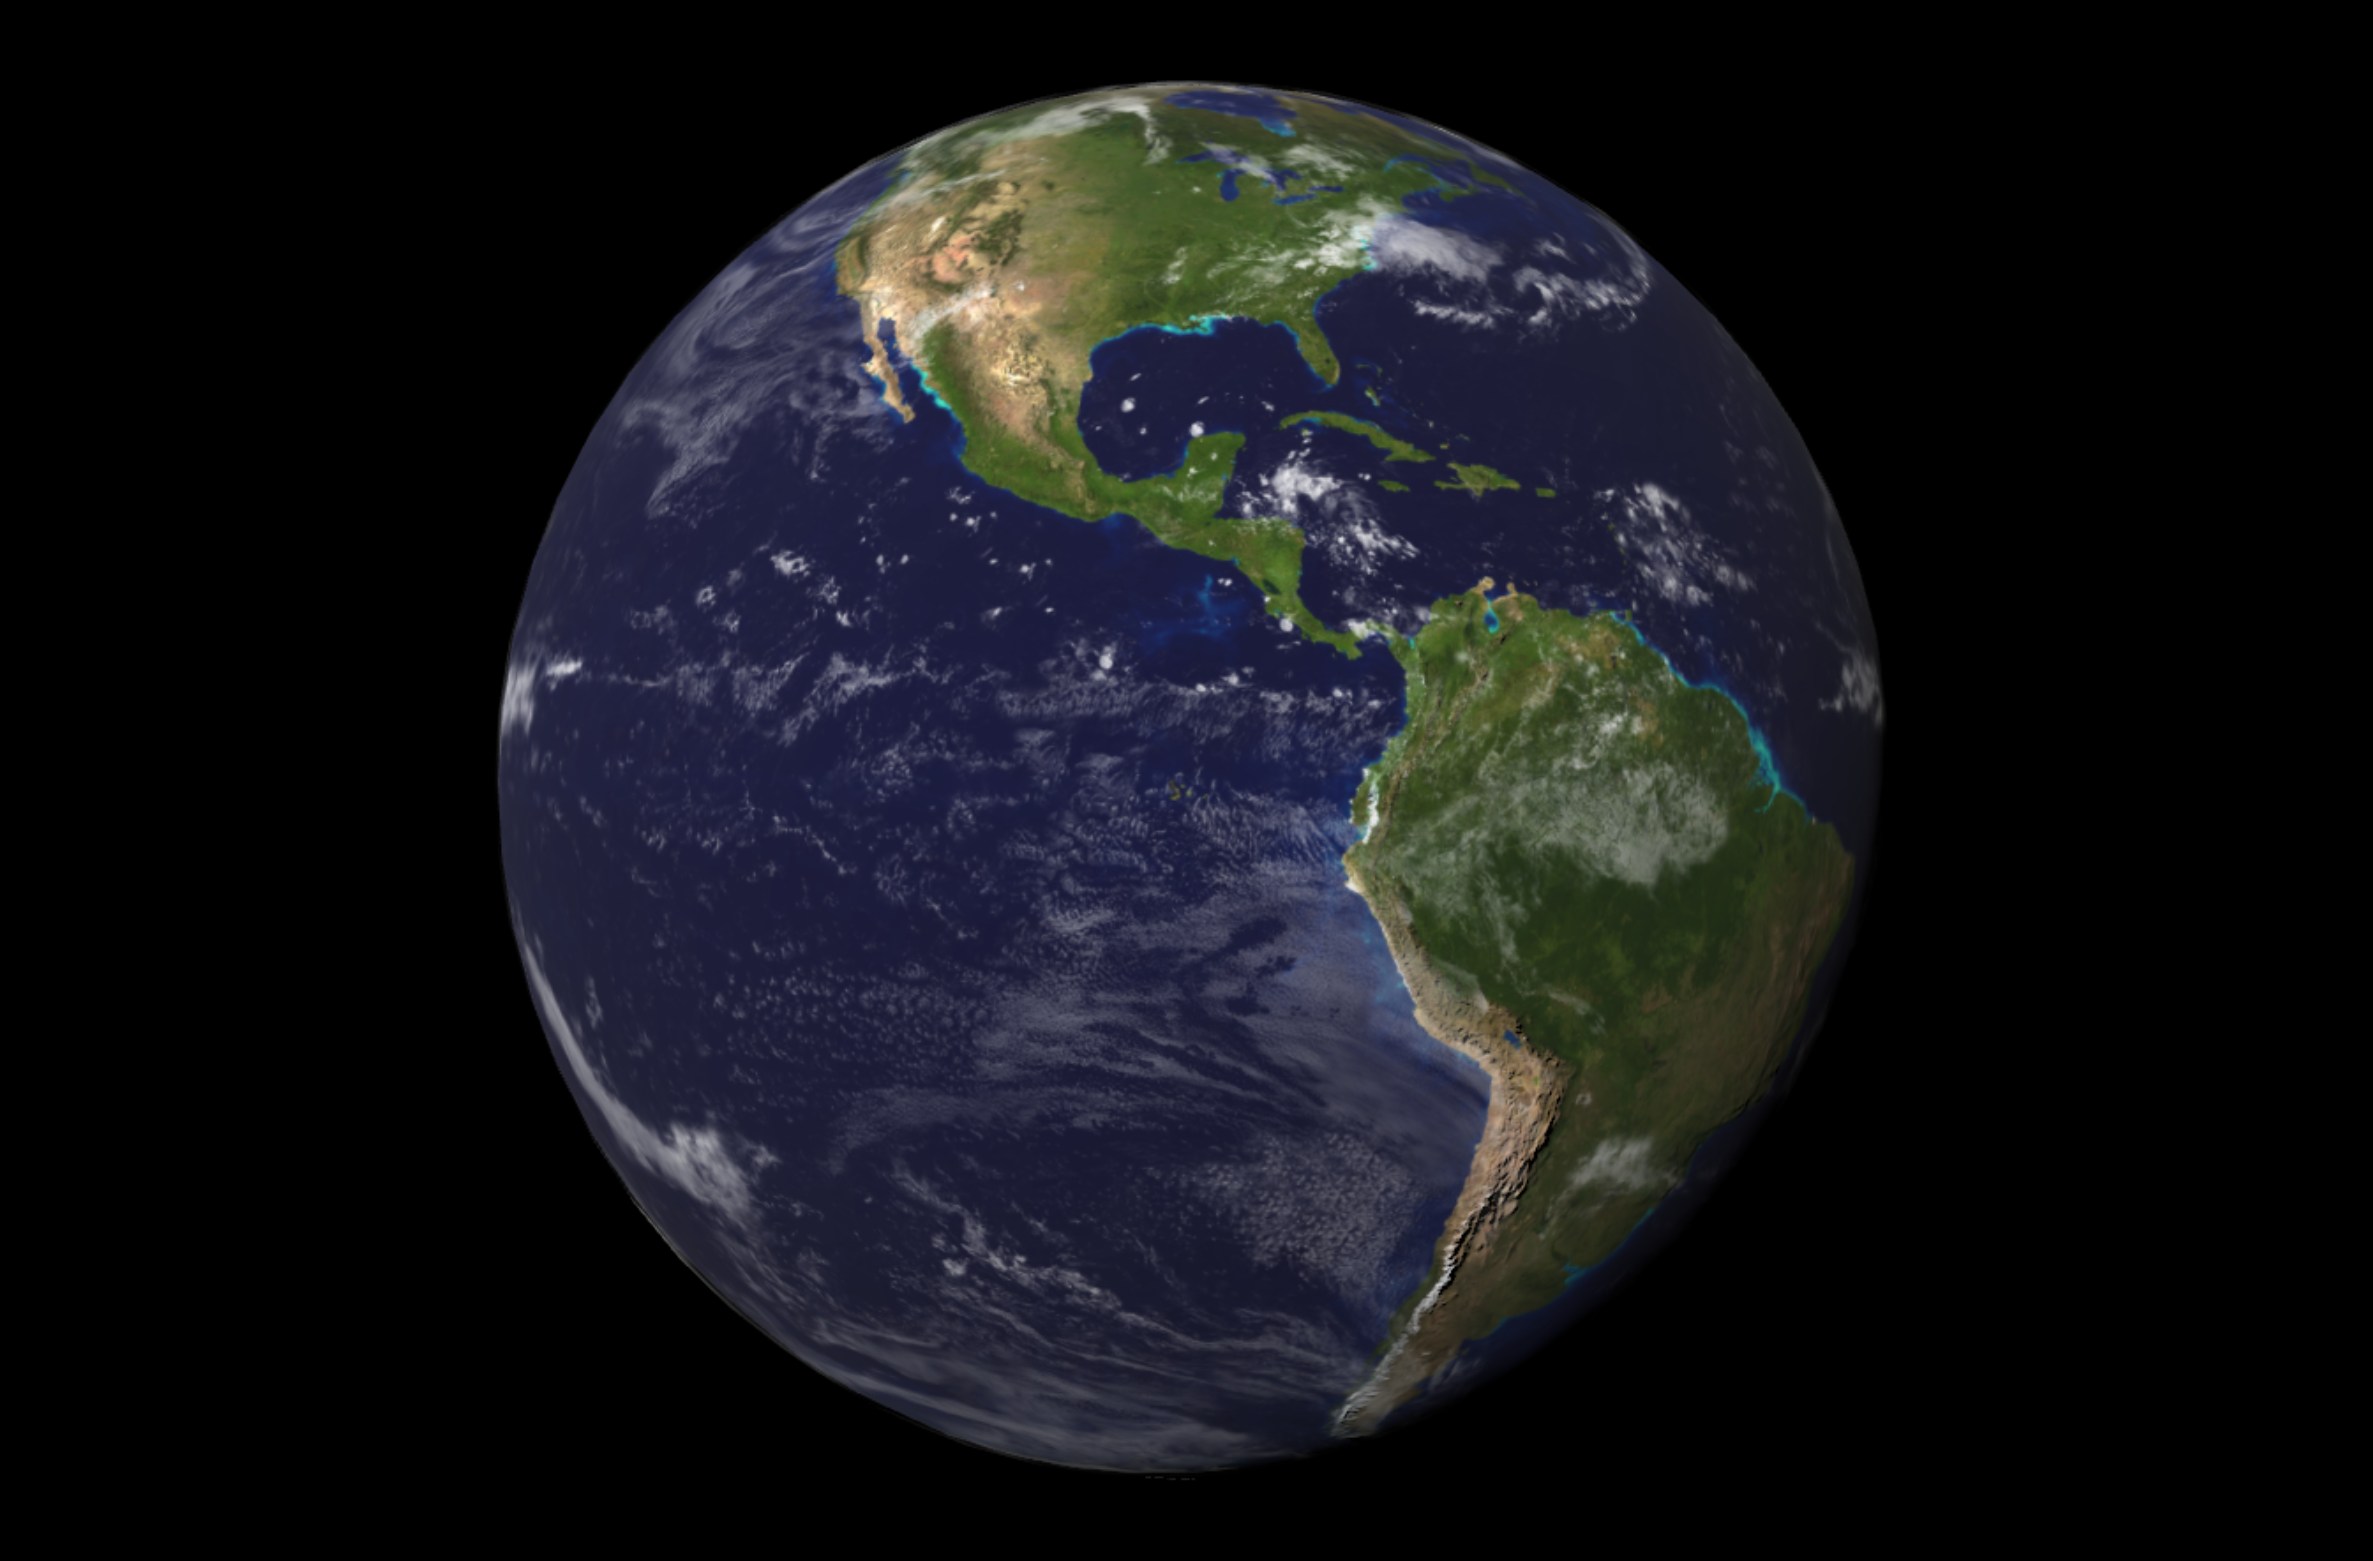
The result should look along the lines of this:
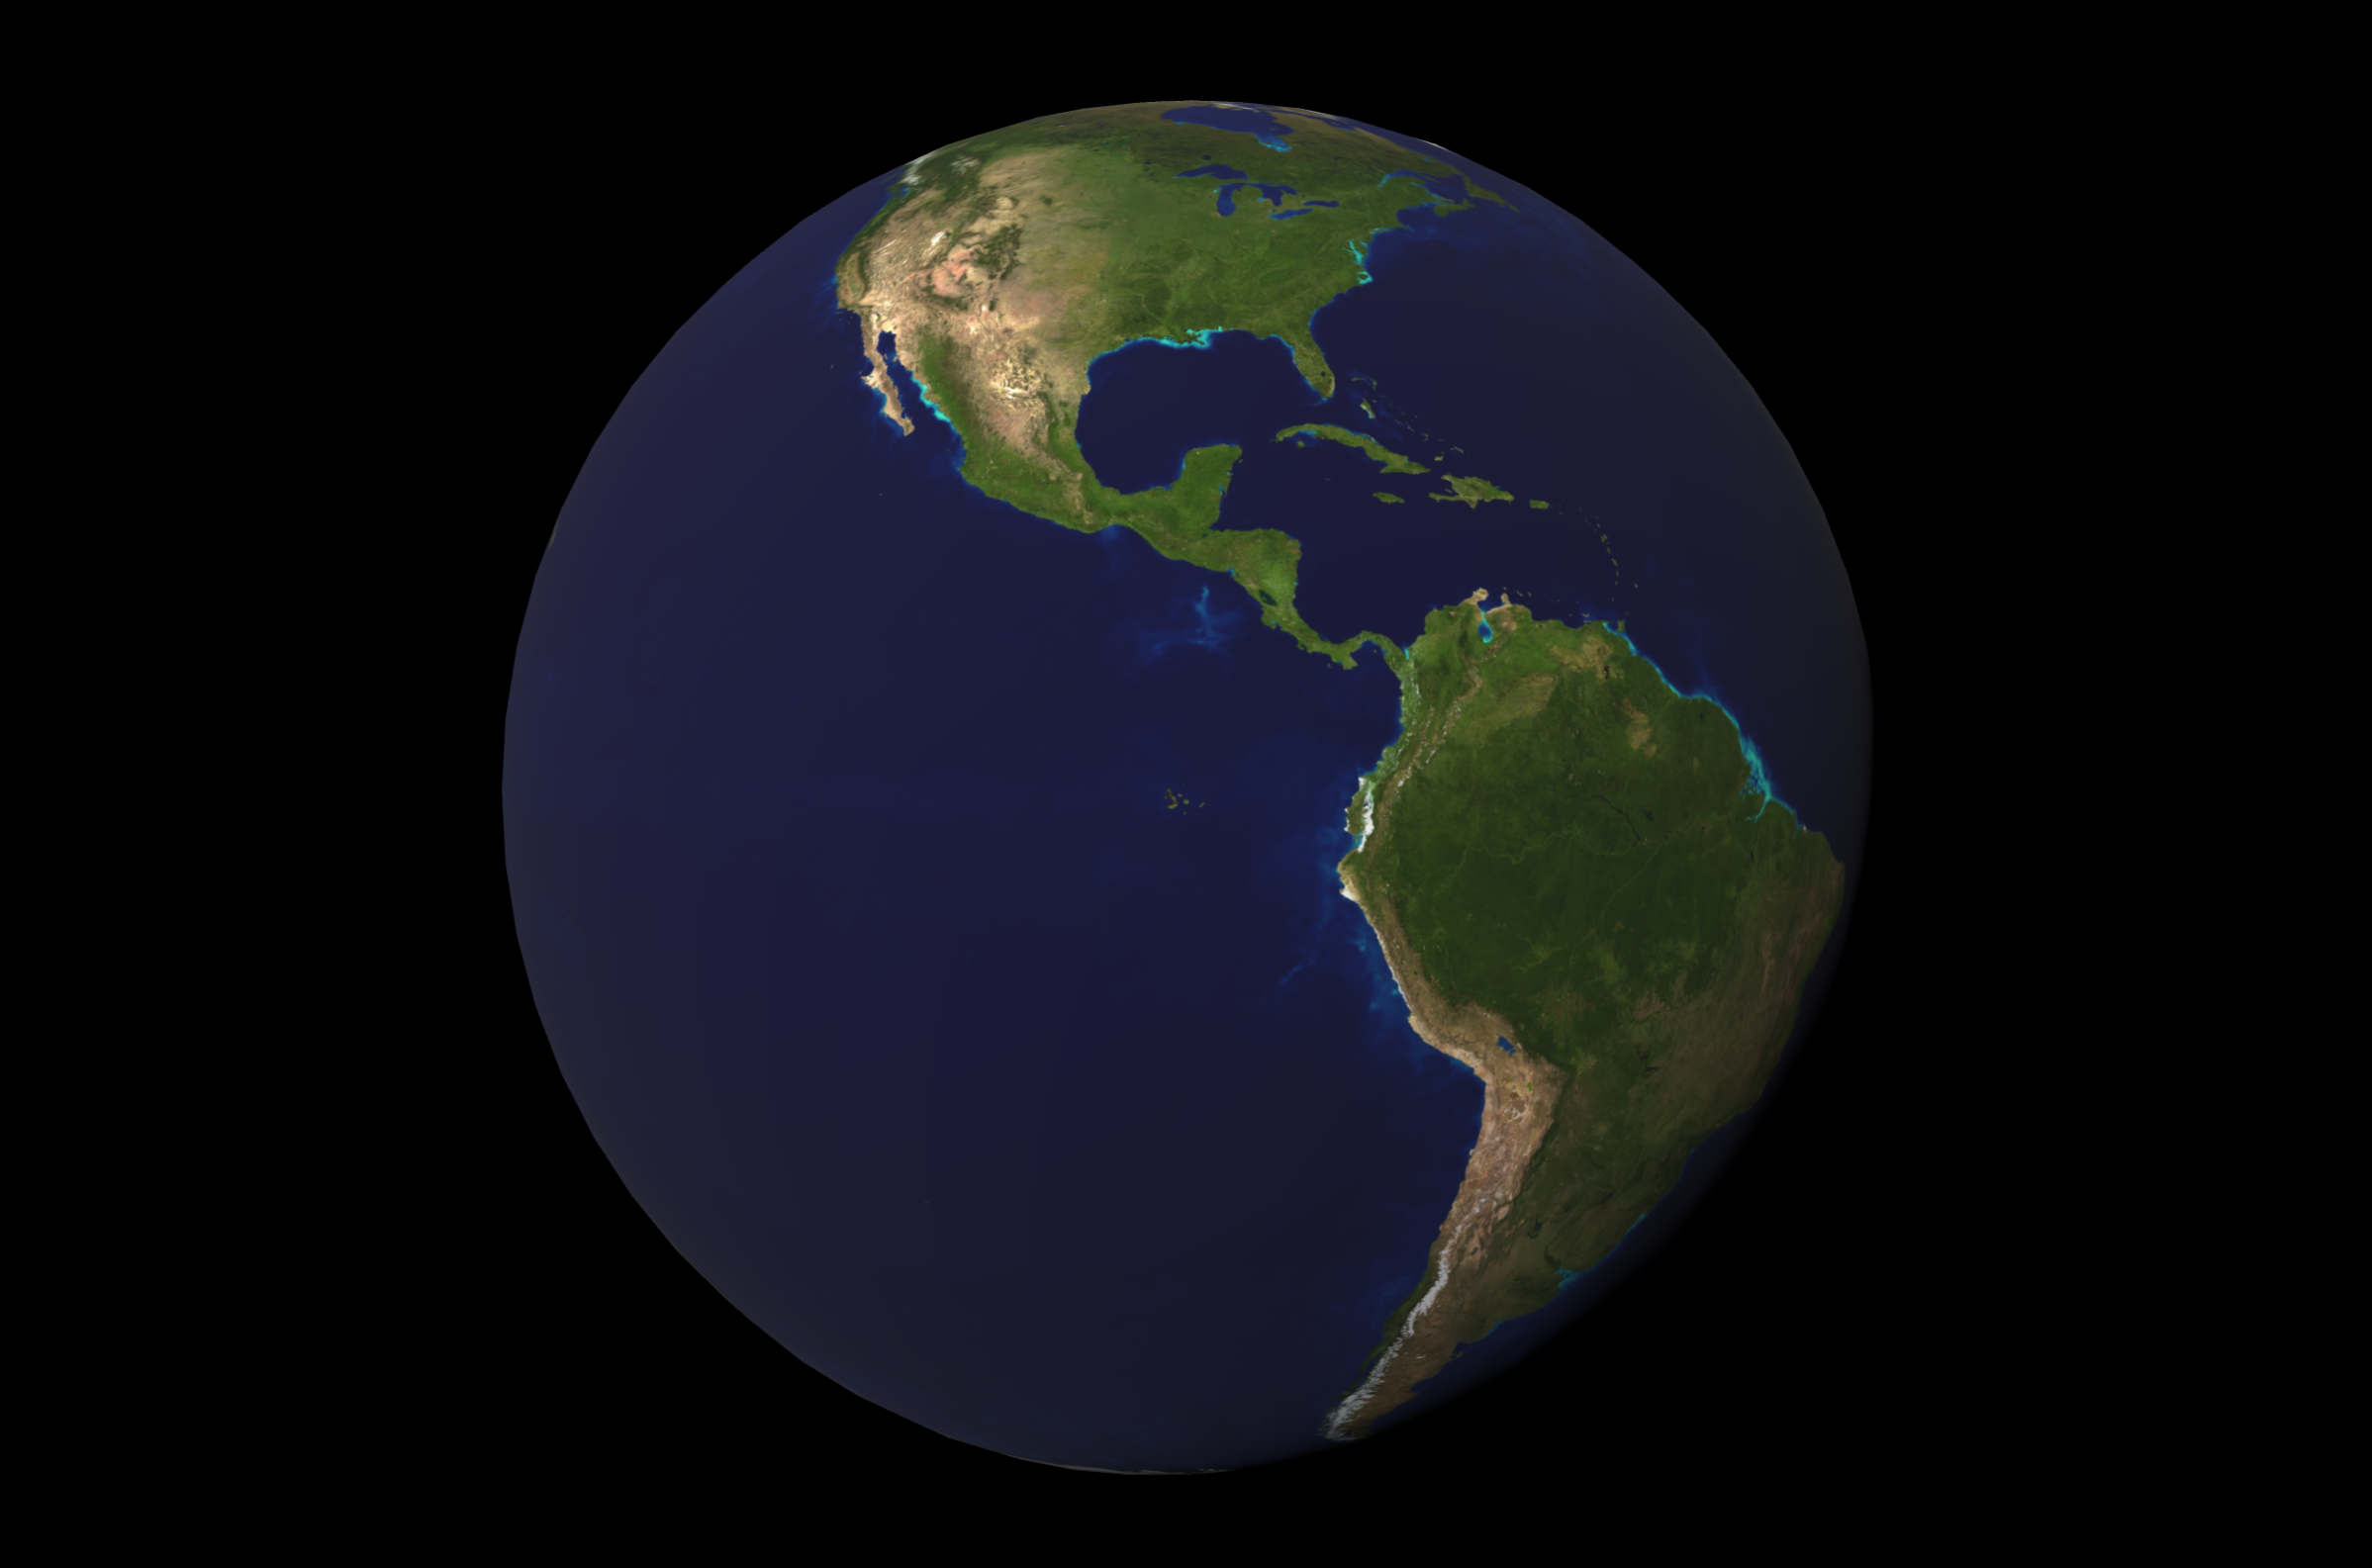
Impressive! 🎉 The next goal is to simulate the Earth’s surface roughness. This effect can be achieved by applying a so called bump map to the surface. A bump map is a texture used in 3D graphics to simulate surface details without chanhing the models geometry. It makes the surface look uneven be changing how light interacts with it, rather than modifying the mesh itself. Because geometry remains unchanged, it consumes fewer resources that other techniques, such as displacement mapping.
Download a bump map texture and save it to src/lib/assets/geo/, then add the following code to the src/lib/globe.svelte.ts file:
...
import bump from "$lib/assets/geo/bump.jpg";
...
export default class Globe {
  ...
  private params = {
    ...
    earthBumpScale: 10, // The scale of the bump map
  };
  private init = () => {
    ...
    // Load the earth texture
    const earthMap = await loadTextureAsync(earth);
    earthMap.colorSpace = SRGBColorSpace;
    // Bump
    let earthBumpMap = await loadTextureAsync(bump);
    // Create a material for the earth
    let earthMaterial = new MeshStandardMaterial({
      map: earthMap,
      bumpMap: earthBumpMap,
      bumpScale: this.params.earthBumpScale,
    });
    ...
  }
};
A new property of the params object called earthBumpScale has been added, which will be used to scale the bump map. Similar to before, we load the bump map as a texture and add it to the material. The result should look like this:
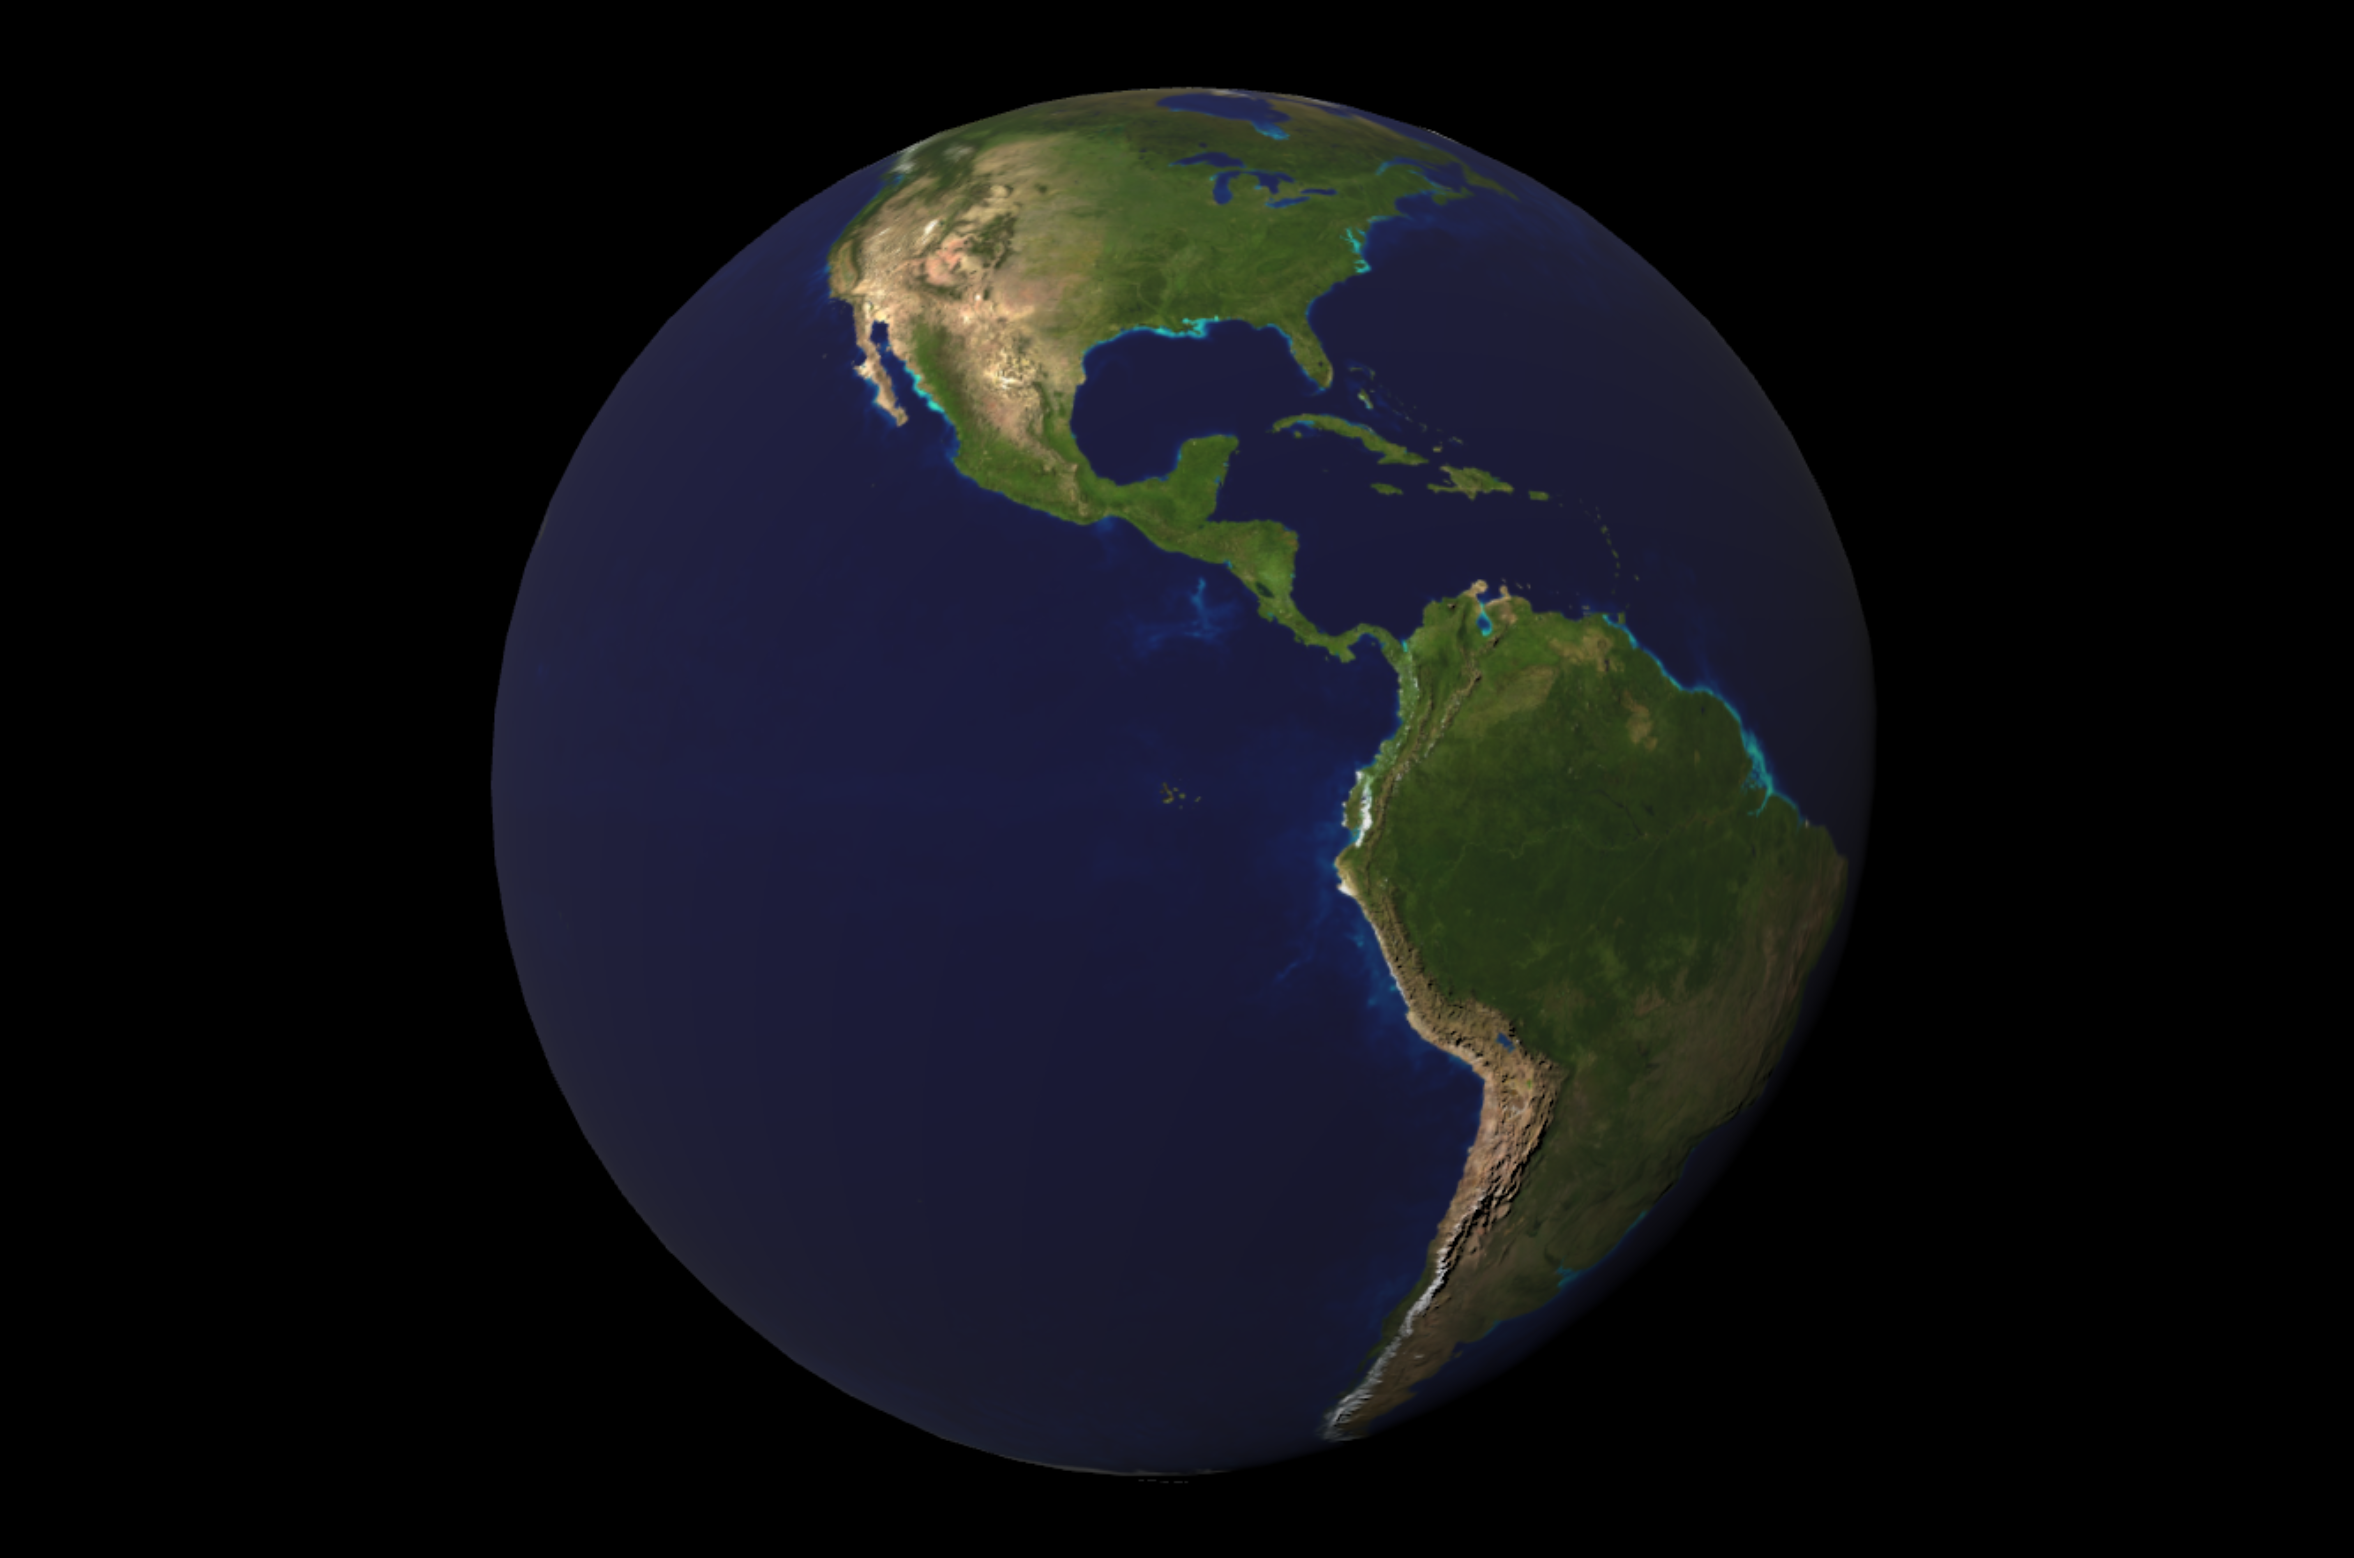
The effect is sublte, but is especially noticeable in the Andes mountains.
Adding a layer of clouds
The goal of this section is to simulate the layer of clouds that cover the Earth. Similar to before, start by downloading a cloud texture and saving it to src/lib/assets/geo/. The texture must support an alpha channel. A normal color image has three channels:
- Red
- Green
- Blue
An “alpha channel” is a fourth channel that represents the transparency of the color. The alpha channel is used to make the texture transparent so that the earth is visible behind the clouds. The most common choice is the PNG format. Make the following changes to src/lib/globe.svelte.ts:
...
import cloud from "$lib/assets/geo/cloud.jpg";
...
export default class Globe {
  ...
  private clouds: Mesh | undefined;
  private params = {
    ...
    cloudRotationSpeed: 0.00005, // The speed of the cloud rotation
  };
  private init = () => {
    ...
    const cloudsMap = await loadTextureAsync(clouds); // Load the cloud texture
		let cloudGeo = new SphereGeometry(this.params.earthSphereRadius + 0.005, 32, 32);
		let cloudsMat = new MeshStandardMaterial({
			alphaMap: cloudsMap,
			transparent: true
		});
		this.clouds = new Mesh(cloudGeo, cloudsMat);
		this.globeGroup.add(this.clouds);
    ...
  }
  private rotateClouds = () => {
		if (this.clouds) {
			this.clouds.rotation.y += this.params.cloudRotationSpeed; // Adjust this value to change the speed
		}
	};
  private animate = () => {
    ...
    this.rotateClouds();
    ...
  }
};
The structure of this code closely resembles that of adding the earth texture. This adds a new property to the params object called cloudRotationSpeed, which controls the speed of the cloud rotation. We’re creating a mesh slightly larger than the Earth to accommodate the clouds. Then, we’re adding a material with an alpha map and setting it to be transparent. This is to ensure that the earth is visible behind the clouds. Finally, we are rotating the clouds every frame using the rotateClouds() method.
The result should look like this:
Adding a space backdrop
The goal of this section is to paint the dark sky full of stars. Begin by downloading a space backdrop texture and saving it to src/lib/assets/geo/. Next, make the following changes to src/lib/globe.svelte.ts:
...
import backdrop from "$lib/assets/geo/backdrop.jpg";
...
export default class Globe {
  ...
  private init = () => {
    ...
    const backdropMap = await loadTextureAsync(backdrop);
    backdropMap.mapping = EquirectangularReflectionMapping;
    this.scene.background = backdropMap;
    ...
  }
};
We’re loading the backdrop texture and setting it as the background of the scene. The output should resemble this:
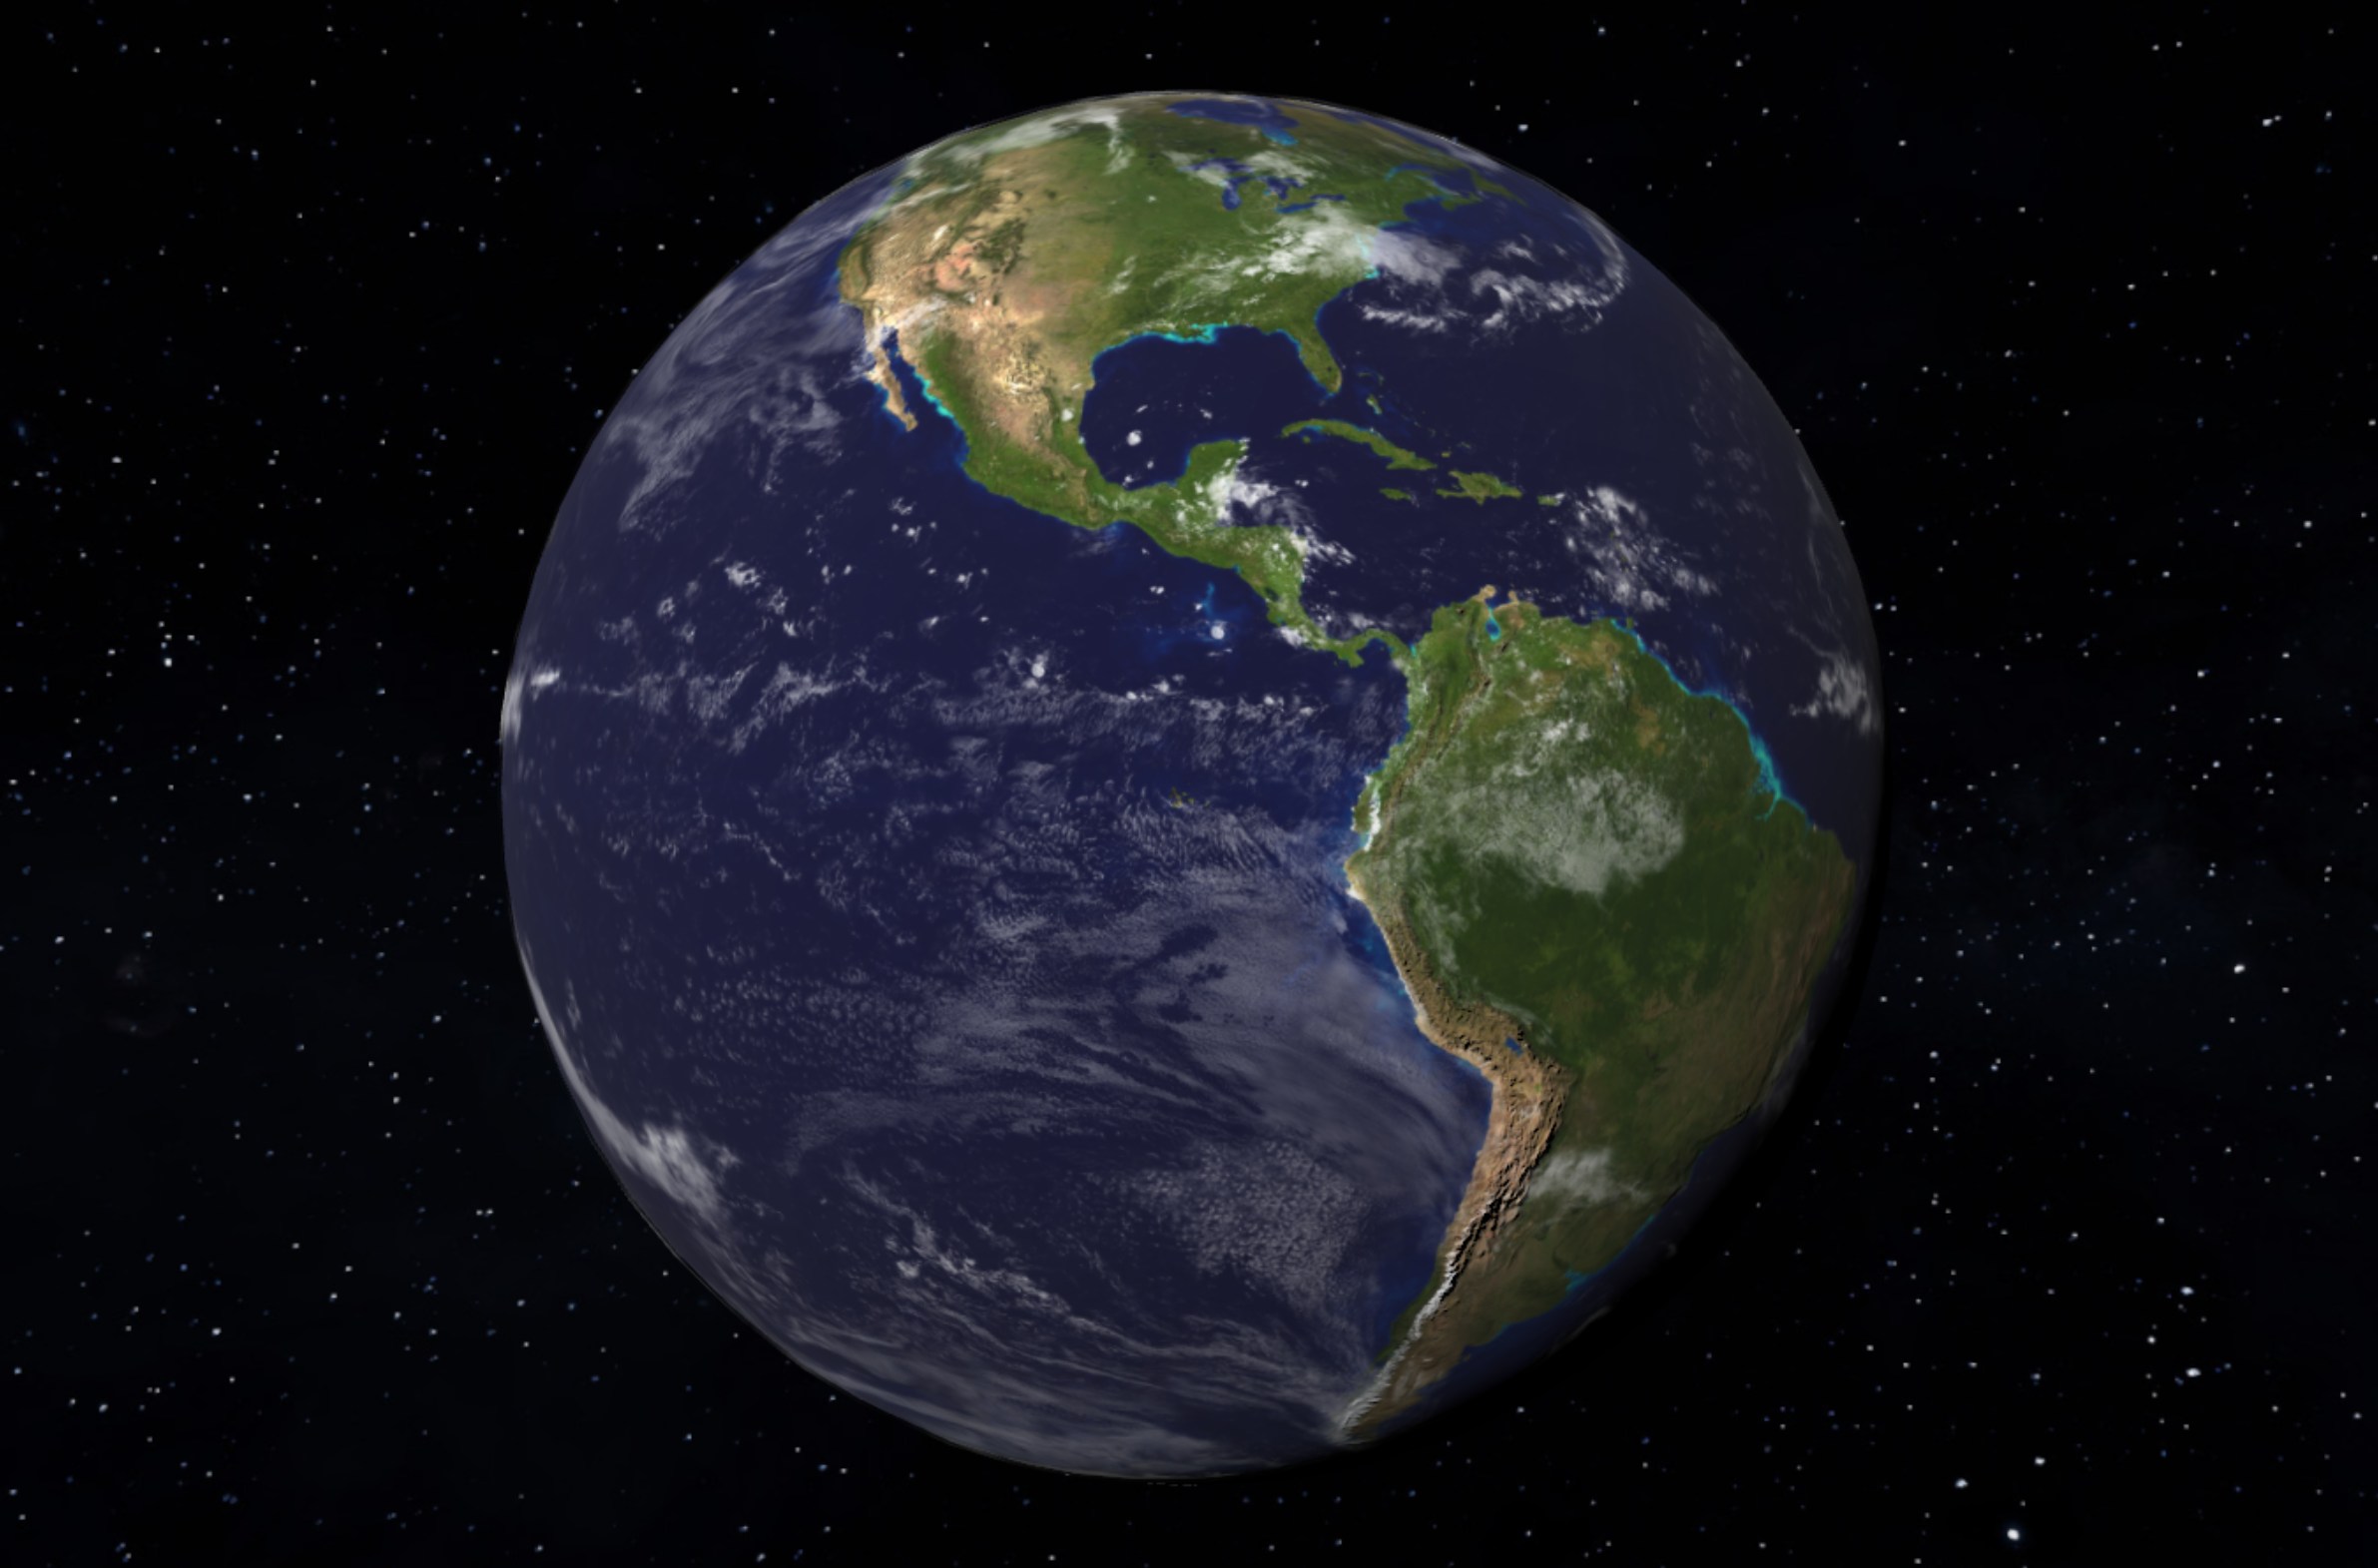
Magnificent! ✨
Adding orbital controls
The goal of this section is to add orbital controls to our scene, which will us to rotate the globe freely using our mouse. Start by making the following changes to src/lib/globe.svelte.ts:
...
import { OrbitControls } from "three/examples/jsm/controls/OrbitControls";
...
export default class Globe {
  ...
  private controls: OrbitControls | undefined;
  private init = () => {
    ...
    this.controls = new OrbitControls(this.camera, this.renderer.domElement);
    this.controls.enableDamping = true;
    this.controls.enablePan = false;
    this.controls.rotateSpeed = 0.2;
    this.controls.minDistance = 1.1;
    this.controls.maxDistance = 5;
    this.controls.target.set(0, 0, 0);
    ...
  }
  private animate = () => {
    if (this.renderer && this.scene && this.camera && this.controls) {
      this.controls.update();
      this.renderer.render(this.scene, this.camera);
      this.rotateClouds();
      requestAnimationFrame(this.animate);
    }
  };
  dispose = () => {
    window.removeEventListener("resize", this.onResize);
    if (this.renderer) {
      this.renderer.dispose();
    }
    if (this.controls) {
      this.controls.dispose();
    }
  };
};
We’re importing the OrbitControls class from the three/examples/jsm/controls/OrbitControls module. Then, we’re creating and configuring a new instance of the OrbitalControls class. The reader is encouraged to tweak the values of the properties to see how it affects the movement of the camera.
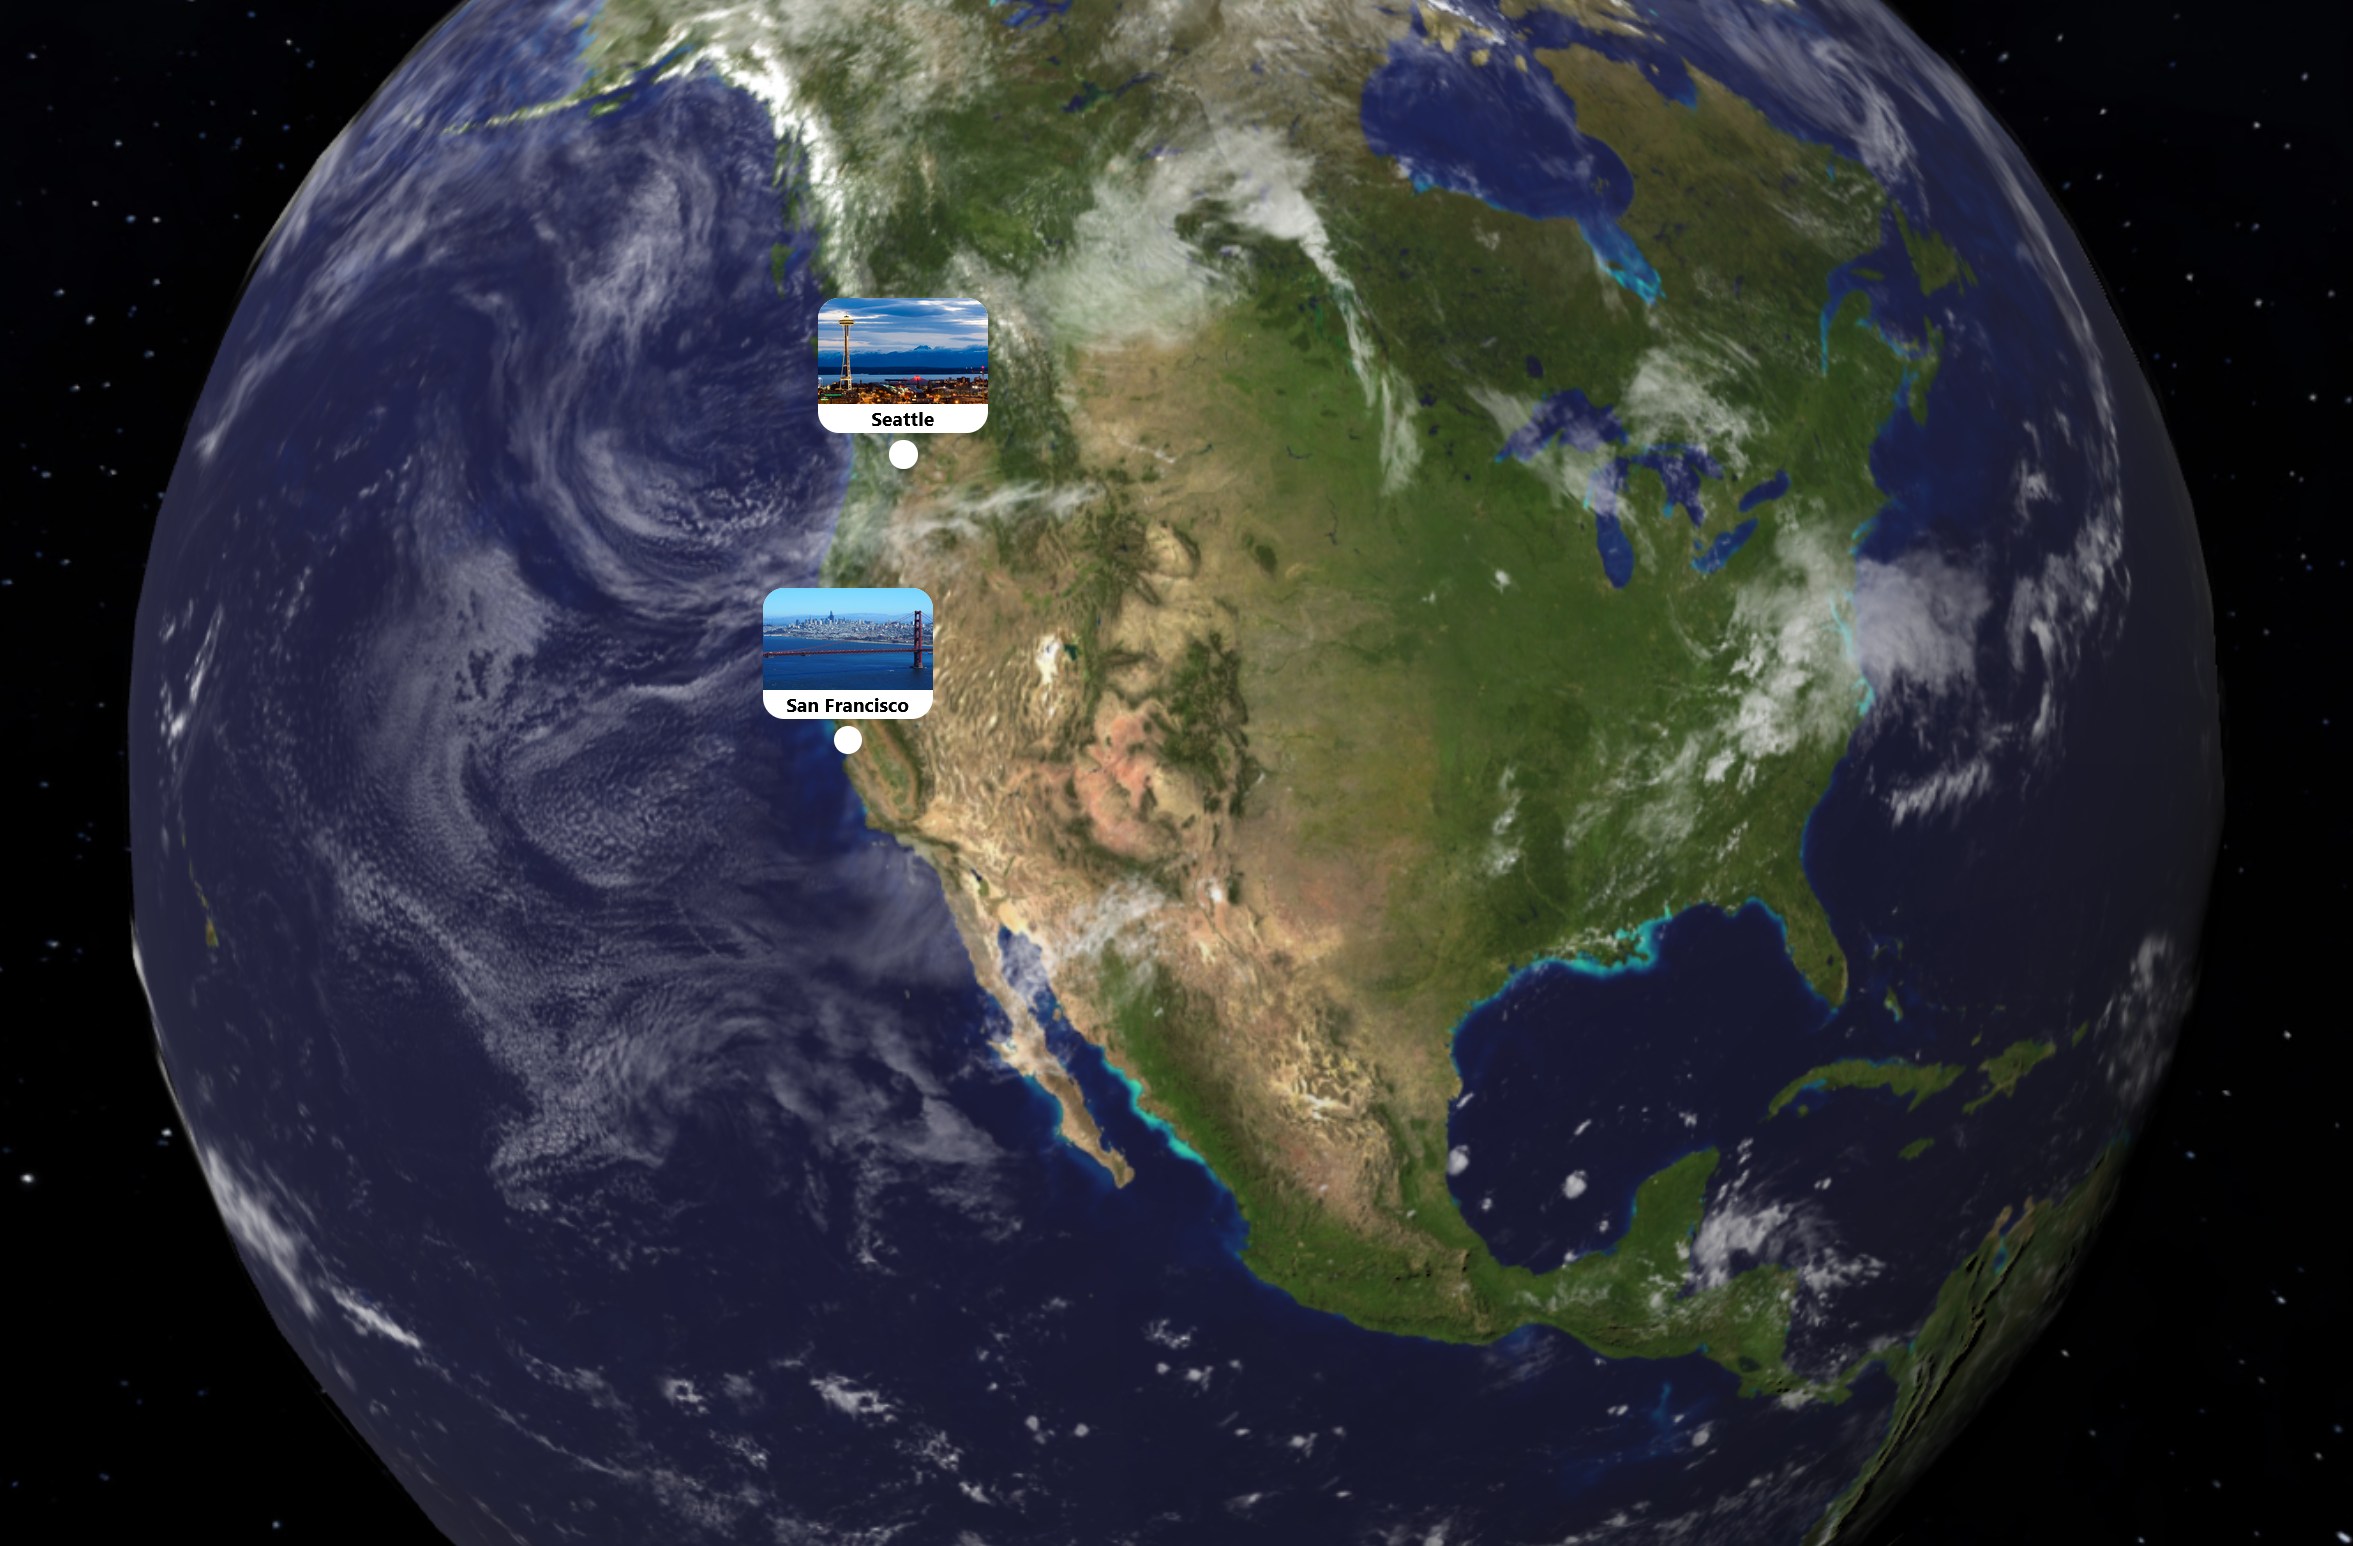
Adding pins to the globe
The goal of this section is to add pins to the globe. Pins are markers that can be placed on the globe and populated with information, such as a name, description or an image.
Begin by defining the shape of the pins. Start by making the following changes to src/lib/globe.svelte.ts:
...
type Pin = {
  coordinates: {
    latitude: number;
    longitude: number;
  };
  screenPosition: {
    x: number;
    y: number;
  };
  metadata: {
    name: string;
    image: string;
  };
};
...
Above, we’ve defined a new Pin type that must contain the following properties:
coordinates: An object that contains the latitude and longitude of the pin. This is essential for positioning the pin on the globe within the 3D scene.screenPosition: An object that contains the x and y coordinates of the pin on the screen. This is used to position the pin on our screen.metadata: An object that contains additional information about the pin, such as its name, image or description.
Note that the coordinates are used to position the pins within the 3D scene, while the screenPosition is used to position the pins on the screen. In short, we’ll translate the globe coordinates to screen coordinates and use those to render our pins using HTML and CSS.
Next, we’ll create a mock data set of pins:
...
export default class Globe {
    pins = $state([
    {
      coordinates: {
        latitude: 37.7749,
        longitude: -122.4194,
      },
      screenPosition: {
        x: 0,
        y: 0,
      },
      metadata: {
        name: "San Francisco",
        image:
          "https://upload.wikimedia.org/wikipedia/commons/6/61/San_Francisco_from_the_Marin_Headlands_in_August_2022.jpg",
      },
    },
    {
      coordinates: {
        latitude: 47.6062,
        longitude: -122.3321,
      },
      screenPosition: {
        x: 0,
        y: 0,
      },
      metadata: {
        name: "Seattle",
        image:
          "https://upload.wikimedia.org/wikipedia/commons/5/58/Seattle_Center_as_night_falls.jpg",
      },
    },
  ]);
  ...
};
Note that we’re using the state function to create a reactive store for the pins. This is necessary to make Svelte’s reactivity system aware of the changes to the pins array. As mentioned earlier, we must now calculate the screen position of each pin using its coordinates. We’ll add the following logic to our class:
...
export default class Globe {
  ...
  private latLonToVector3 = (lat: number, lon: number): Vector3 => {
		const latRad = lat * (Math.PI / 180);
		const lonRad = -lon * (Math.PI / 180);

		const x = this.params.earthSphereRadius * Math.cos(latRad) * Math.cos(lonRad);
		const y = this.params.earthSphereRadius * Math.sin(latRad);
		const z = this.params.earthSphereRadius * Math.cos(latRad) * Math.sin(lonRad);

		return new Vector3(x, y, z);
	};
  private projectToScreen = (point: Vector3): { x: number; y: number } => {
		const vector = point.clone();
		if (!this.camera) {
			throw new Error('Camera not initialized');
		}
		vector.project(this.camera);

		const x = (vector.x * 0.5 + 0.5) * window.innerWidth;
		const y = (vector.y * -0.5 + 0.5) * window.innerHeight;

		return { x, y };
	};
  calculatePinScreenPositions = () => {
    if (!this.globeGroup || !this.camera) {
      throw new Error("GlobeGroup or Camera not initialized");
    }

    for (let i = 0; i < this.pins.length; i++) {
      const pin = this.pins[i];

      const position3D = this.latLonToVector3(
        pin.coordinates.latitude,
        pin.coordinates.longitude
      );

      const worldPosition = position3D
        .clone()
        .applyMatrix4(this.globeGroup.matrixWorld);

      const pointToCenterVector = worldPosition.clone().normalize();
      const cameraToCenterVector = this.camera.position.clone().normalize();

      if (pointToCenterVector.dot(cameraToCenterVector) > 0) {
        const screenPos = this.projectToScreen(worldPosition);
        this.pins[i].screenPosition = screenPos;
      } else {
        this.pins[i].screenPosition = { x: -1000, y: -1000 };
      }
    }
  };
  private animate = () => {
    if (...) {
      ...
      this.calculatePinScreenPositions();
      ...
    }
  };
};
This code merits a few explanations. The calculatePinScreenPositions() method is responsible for calculating the screen position of each pin. This is done each frame, hence, it’s called in the animate() method. Below follows a breakdown of the logic:
- Loop through each pin in the
pinsarray. - Convert the pin’s coordinates to a 3D vector using the
latLonToVector3()method. This involves converting the latitude and longitude to radians and then calculating the x, y and z coordinates of the vector. - Apply the
globeGroup.matrixWorldmatrix to the vector to translate it from local space coordinates to world space coordinates. - Calculate the dot product of the vector and the camera’s position vector. If the result is greater than 0, the pin is visible to the camera and we can calculate its screen position. Otherwise, we set the screen position to a default value of -1000.
The mathematics behind these calculations are particularly useful. If you’re interested, you can read more about vectors, dot products and Cartesian coordinates.
The result should look like this:
Conclusion
In this tutorial we’ve created an interactive 3D globe using Three.js and SvelteKit. I encourage the reader to explore the code and experiment with different features and settings. Here is some inspiration:
- Try adding the moon 🌒
- Add UI controls for adding new pins and removing existing ones 📌
- Trace a path between two pins 🧭